Get Cracking on Easter Crafts
The days are getting warmer, the evenings are getting lighter… Spring is in the air!
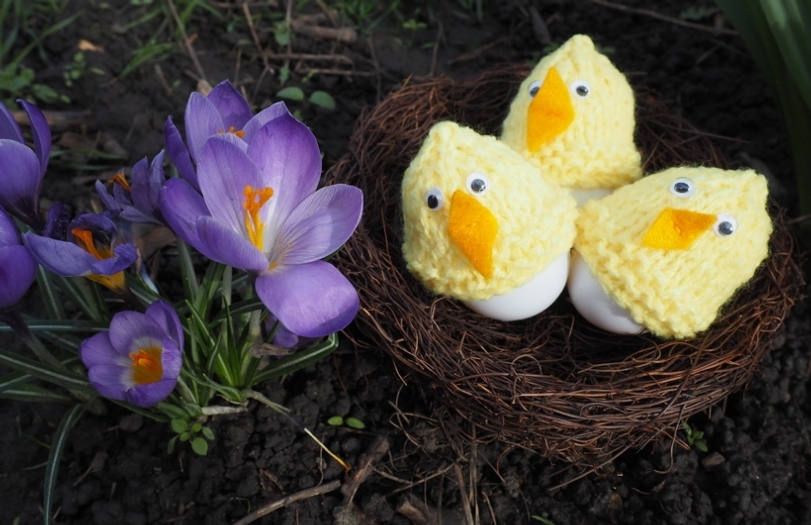
With Easter around the corner, it’s time to get cracking with some eggciting craft activities.
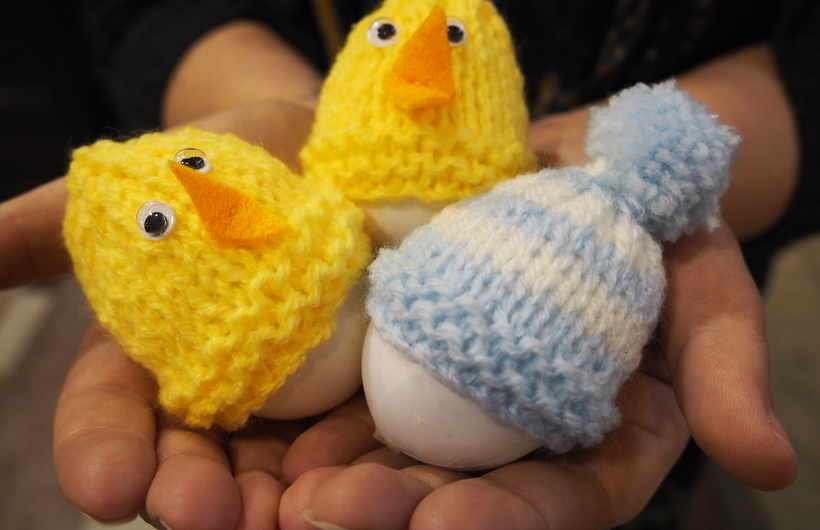
These adorable egg hats are the perfect project for a rainy afternoon – quick to pull together and ideal for using up any leftover oddments of yarn.
Beginner-friendly instructions for knitting and crochet are below. Don’t forget to share your efforts with us on Facebook and Twitter!
Knitted Egg Cosies
YOU WILL NEED
- Size 4mm needles
- DK wool
METHOD
- Cast on 26 stitches.
- Work in 1×1 rib (kt1, p1) for 5cm.
- Knit 1 row.
- Pearl 1 row.
- Next row: kt1, kt2g, kt to last 3 stitches, kt2g, kt1 (24 stitches).
- Pearl 1 row.
- Next row: kt1, kt2g, kt to last 3 stitches, kt2g, kt1 (22 stitches).
- Pearl 1 row.
- Next row: k2tg to end (11 stitches).
- Keep the stitches on the needle, then cut enough yarn to thread back through the stitches to gather the hat at the top.
- Sew up the side and turn out the right way.
TO MAKE THE POMPOM
- Cut a piece of wool about 10cm long and lay it on a flat surface.
- Using a different piece of wool, wrap the yarn loosely around your index finger about 20 times.
- Remove the wool from your finger and lay it on the 10cm strand, as near to the centre as possible.
- Draw up the ends of the 10cm thread as if you were tying a shoelace, then knot it and cut off the ends.
- Style it into a pompom and sew it onto the top of your egg hat.
Full instructions here: https://homefarmer.co.uk/free-egg-cosy-knitting-pattern/
Crochet Egg Cosies
YOU WILL NEED
- DK yarn
- 4mm hook
- Stitch marker
- Adornments of your choice
METHOD
- Round 1: Make a slip knot and put onto hook, chain 2 and make 5 double crochets into 2nd chain from hook.
- Round 2: Now you need to make 2 double crochets into each of your 5 stitches- (you'll have 10 stitches at the end of the round). Don't forget to use a stitch marker in the first stitch (or bit of coloured yarn) so you know where you started out.
- Round 3: Next, make 1dc into the first stitch and 2dc into the next. Repeat around. You'll have 15 dc now.
- Round 4: 1 dc in each stitch (15 dc in total)
- Round 5: dc in next 2 stitches, 2dc in next stitch. Repeat around. (20 dc)
- Round 6: dc in next 3 stitches, 2dc in next stitch. Repeat around. (25 dc)
- Rounds 7-13: dc in each stitch around (25 dc)
Finish off, weave in ends.
Turn inside-put to display the ‘right’ side.
Now decorate however you like!
Full instructions and photos here: http://annabooshouse.blogspot.co.uk/2012/03/cheep.html